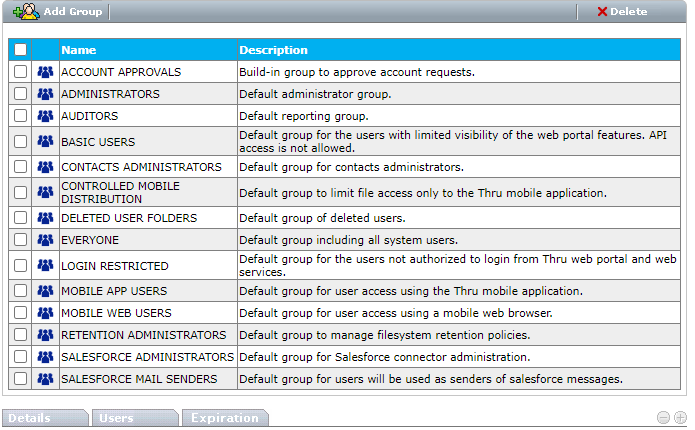
Managing groups
View and manage groups from Group Management (Account Name > Administration > Groups) in the Administration dashboard.
Adding a group
You can enhance user management by creating custom groups to your File Sharing site. For example, you can create a role-specific group for sales representatives to ensure that all users in that group have the right role access.
-
From Group Management, click Add Group.

-
Configure the following:
-
Name - (Required) Enter a name for the group.
-
Modify Role - Defines which level of role can edit the group.
- Manager - (Default) Users with the Manager or Administrator role can modify the group and add or delete users from the group.
- Administrator - Only Administrators can modify the group and add or delete users from the group.
-
Description - Enter a description for the group.
-
-
Click Save.
Deleting a group
If you no longer need a group, you can delete it.
Only user-created groups can be deleted. Built-in groups cannot be deleted and will show an error if you attempt to delete them.
- From Group Management, select the checkbox next to the group that you want to delete.
- Click Delete.
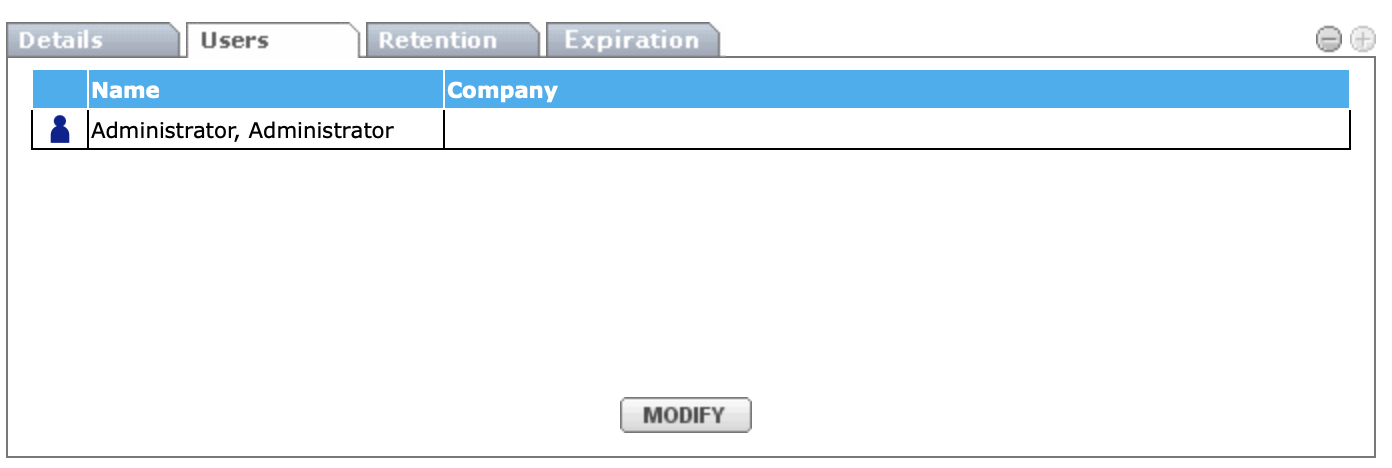
Managing users
You can manage users in a group from the Users tab.
-
From Group Management, click the group that you want to modify.
-
Select the Users tab, and then click Modify.
-
Select All from the Show list, and click Search.
- Select the users you want to add to the group.
- To remove users from a group, clear the check box for the user you want to remove.
-
Click Save.
Defining retention policies
You can define retention policies for all users in a group from the Retention tab. You must be a member of the Retention Administrators group. For more information, refer to Retention.
